Well, it’s done! And I think this thing is really cool! I don’t have that feeling all the time about my art projects, so this is nice.
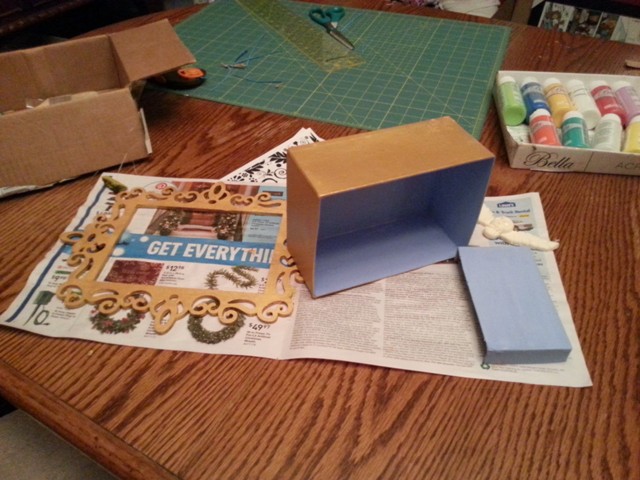
We left off with a couple of layers of paint on the box and picture frame that I’d picked out to house my Dia de los Muertos miniatures from California.
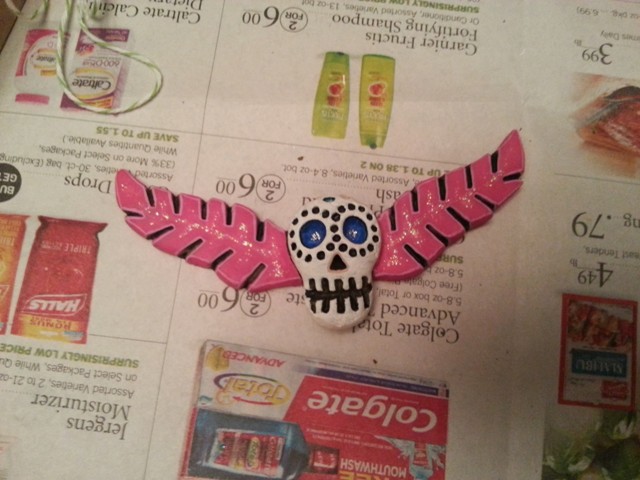
In that last picture I posted, you can just see one of the embellishments I bought from Etsy to see if it would work. It’s a cool paint-your-own skull with wings.

Once it arrived, it occurred to me that it would look really good if painted by a miniature master. Fortunately, I happen to be married to one of those. So I handed it over and he got out his teeny-tiny brushes and got started.

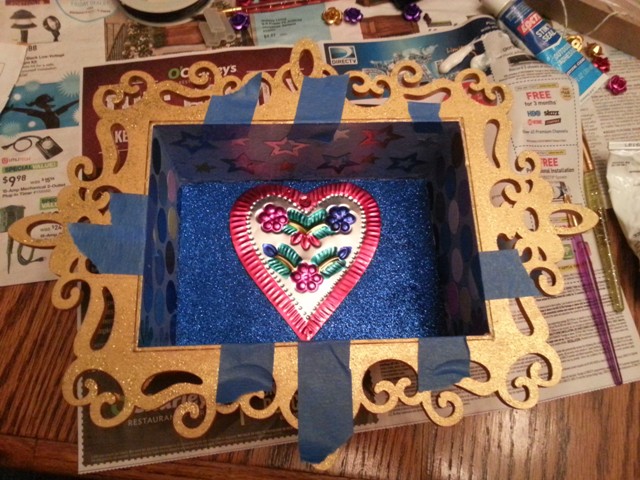
While he was working on that, I put several more layers of the metalic gold paint on the picture frame, and then a couple of layers of gold glitter paint.

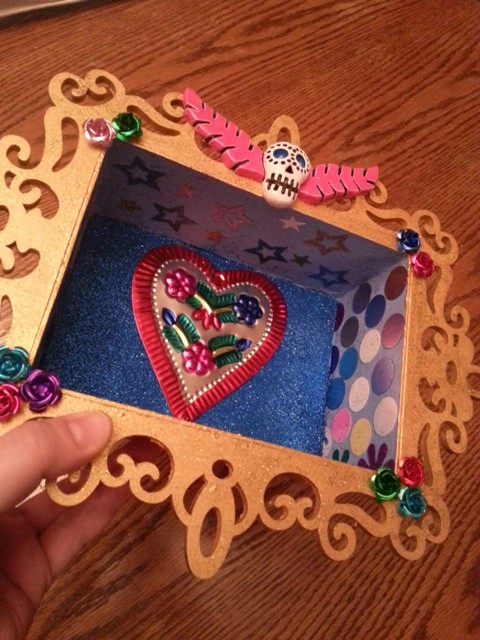
I lined the back only of the box with a sheet of glitter-covered foam from the dollar store. Then I started attaching some confetti spangles to the inside of the box, and to one of the smaller box lids, which I planned to use as a stage/step area to raise the figures up a little.
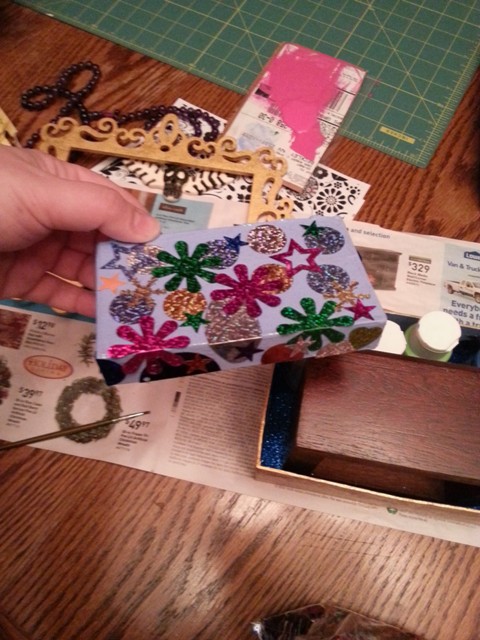
But then I had a brainwave. I remembered a random tin heart I’d received as a freebie when I bought some fabulous earrings from a friend-of-a-friend, Artista Muerta (who has an Etsy shop if you’re interested!). I didn’t have any real plans for the tin heart but it was perfect for this project. So in it went, and I spangled the whole floor instead of the step. I was a little worried that the Mod Podge would flatten or dull the sparkly spangles, but it didn’t.

The next step was to shimmy the box into the picture frame and stick them together so the box edge didn’t gap away from the frame. I used Loctite paste for this, because I have coordination problems that lead to unfortunate situations with liquid SuperGlue. If I had a nickel for every time I glued my fingers together… One time a few years ago I tried something rated for metal-on-metal adhesion and I was worried I was going to have to go to the hospital for a skin graft if I ever wanted to use my thumb in its opposable capacity again. No joke. So I learn these things about myself, and I work around them. As I said: adhesive paste. Also painter’s tape, so I didn’t have to stand there like an idiot for an hour.
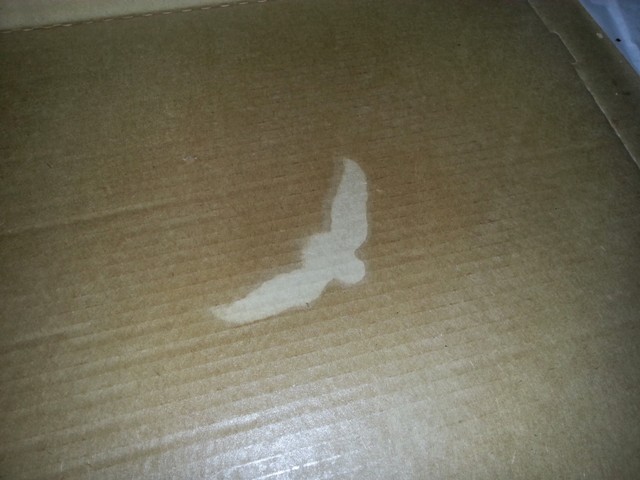
I gave Husband’s precious skull 24 full hours to dry (again, because I learn lessons, including the one when my stencils ran on the Little Free Library!) and then I gave it a serious bath in clear spray-on sealant. If I may digress for a minute, here is a picture of the pizza box after the sealant dried. I am in love with the way this looks and I feel another art project coming on!
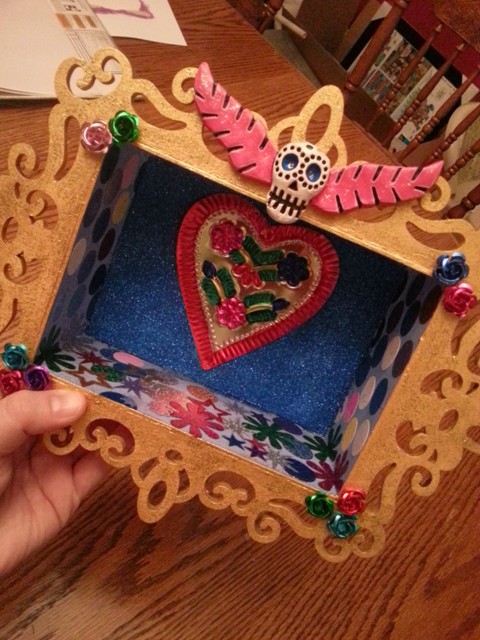
Once the sealant was dry, I attached the winged skull and ten jumbo-sized aluminum roses (also inspired by Artista Muerta’s jewelry and similar stuff I saw in LA), also using Loctite paste. It’s only been a day but so far that stuff seems pretty serious, as adhesives go. AND I have ten independently usable fingers today! I call that a win.

So here it is, in all its glory: